True Security Gear is reader-supported. When you buy through links on our site, we may earn an affiliate commission. This doesn't affect our verdicts.
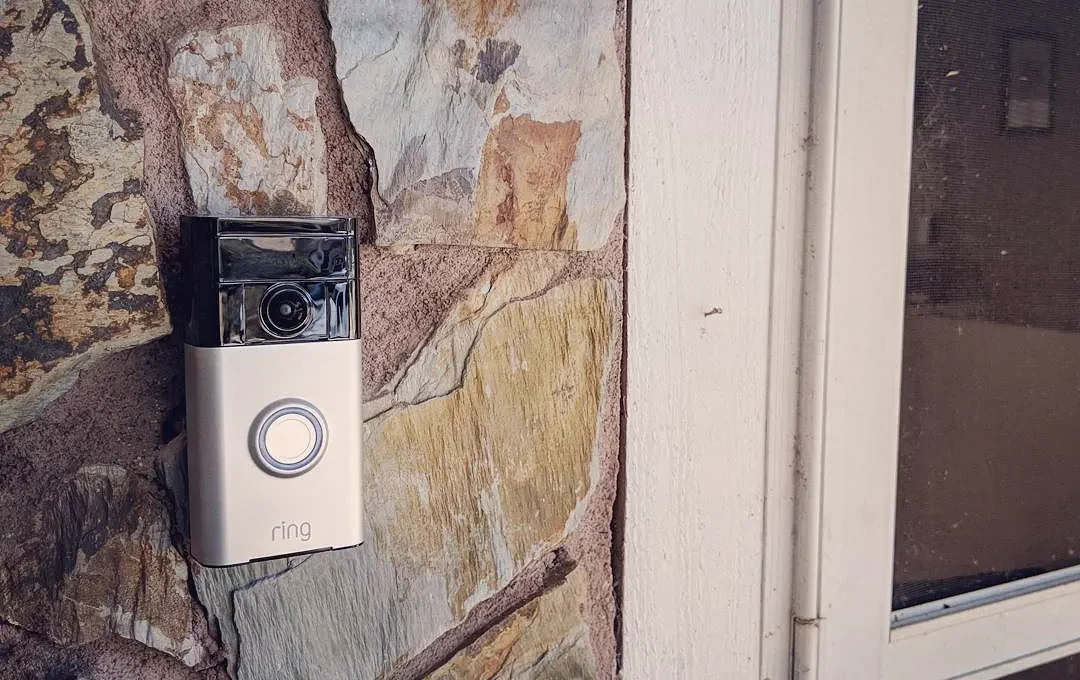
An adhesive mount or a tension-fit bracket over your existing wired doorbell button gets a video doorbell up without a single new hole, and both come off cleanly at move-out. The choice depends on whether your building already has low-voltage doorbell wiring behind the button. If it does, a battery model that simply mounts over the existing plate, or a wired model that taps into that same wiring, both leave the wall exactly as you found it. If there’s no wiring at all, an adhesive-backed battery doorbell is usually the only option that doesn’t involve drilling.
Battery or wired: which is actually more renter-friendly
A battery doorbell wins on flexibility. It doesn’t need existing wiring, it can go on siding, brick, or a door frame with the right mount, and removing it at the end of a lease is a matter of peeling off adhesive or unscrewing a bracket. A wired doorbell that reuses the existing button wiring is arguably even less invasive, since nothing new attaches to the wall beyond the doorbell itself sitting where the old one did, but it only works where that wiring already exists and is in usable condition. Checking behind the current doorbell button, most leases don’t restrict this since nothing is added, tells you which option is even on the table before you buy anything. A deeper look at how wired and battery doorbells actually differ covers the tradeoffs beyond the rental question.
What adhesive mounts actually hold, and what they don’t
Manufacturer instructions for adhesive-backed mounts generally call for a clean, dry, flat surface and a curing period, often 24 hours, before hanging any weight on the strip. Owners on rental and apartment forums describe a consistent pattern: mounts fail more often on textured stucco, unpainted brick, or anything holding summer heat than they do on smooth painted trim or a door frame. A doorbell that works loose after a few hot afternoons usually points to surface texture or heat rather than a bad adhesive strip. Cleaning the surface with rubbing alcohol before applying the mount, which several manufacturers specify in their instructions, is the step people most often report skipping.
Weight matters too, and it’s easy to underestimate. A doorbell with a bulky battery pack weighs more than the slim wired models it’s often compared to, and that extra weight is exactly what pulls a rushed, uncured adhesive strip off a door frame within days. Waiting out the full cure time before the first heavy rain or a string of hot afternoons is the detail owners most often admit to skipping, right before describing a doorbell that ended up hanging by its power cable.
Swapping the existing button without losing the original parts
Before removing an old wired doorbell button, manufacturers and forum posters both recommend photographing the wiring and keeping the original button and any mounting screws in a labeled bag. Some leases require the unit to go back to its original condition exactly, so having the old hardware on hand, rather than tossed in a drawer somewhere, is what makes that possible without a second trip to the hardware store at move-out. If the existing wiring supplies too little voltage for the new doorbell, which some models flag with a warning light or an app notification, a plug-in adapter kit sold separately by several manufacturers usually resolves it without any new wiring.
Turning off power at the breaker before touching any wiring, even the low-voltage kind behind a doorbell button, is a step manufacturer instructions list every time and one that’s easy to skip because the wires look harmless. A short circuit at the transformer, while rarely dangerous, can trip a breaker or blow a fuse in an older building’s electrical panel, which is a bigger headache in a rental than a doorbell install was ever meant to cause.
| Mount type | Needs drilling | Holds well on | Reversible at move-out |
|---|---|---|---|
| Adhesive strip | No | Smooth, painted, cool surfaces | Yes, with residue cleanup |
| Tension or clip bracket over existing button | No | Standard doorbell button plates | Yes, near-instant |
| Screw-in mount | Yes | Most exterior surfaces | Leaves small holes to patch |
What leases typically say about doorbells and door hardware
Most leases distinguish between something that attaches without altering the door or wall, generally allowed, and something that requires drilling or rewiring, which usually needs written approval first. A doorbell chosen specifically for its no-drill mount tends to fall into the first category by design. Lease language still varies enough between landlords that a quick email confirming the specific model is fine tends to prevent a dispute later, especially in buildings with a history of enforcing strict alteration clauses. A closer look at where a security device can legally go in a rental covers the placement side of this same lease question.
Buildings with a shared entry, rather than an individual front door, add a wrinkle worth checking separately. A doorbell replacing an individual unit’s button is a different situation than one mounted on a shared building entrance, where a property manager, not just an individual lease clause, usually has to sign off first, since the device then captures common areas other tenants use too.
Getting the deposit back at move-out
Removing an adhesive mount cleanly, rather than yanking it off, is what determines whether it leaves a mark. Manufacturers that make these mounts generally recommend warming the adhesive slightly with a hair dryer on a low setting before peeling it, then working an adhesive remover or rubbing alcohol into any residue left behind. Taking a photo of the wall or door frame after removal, alongside the move-in photo most tenants already have, is the simplest way to document that the surface came back to its original state. If the mount included a small anchor screw for extra hold, filling that hole with a dab of matching spackle or a putty stick sold for exactly this purpose closes it out in a few minutes.
Paint transfer is the other common issue, especially on freshly painted trim. Pulling an adhesive strip off too soon after it was applied can lift a thin layer of paint along with it, which reads to a landlord as damage rather than normal wear. Waiting for the recommended cure time before mounting anything reduces this risk at install, and pulling slowly at a low angle rather than straight out reduces it again at removal.
No-drill options beyond the doorbell itself
The same no-drill logic that applies to a doorbell extends to other renter security gear worth stacking with it, from door and window sensors to portable alarms. Anyone building out a fuller setup without touching walls or door frames should see our broader rundown of no-drill security devices for renters for what else fits the same constraint. A no-drill smart lock is often the next thing renters add once the doorbell is sorted, and what to check before installing a smart lock as a renter walks through the same deposit-safe reasoning.
Frequently asked questions
Will an adhesive-mounted doorbell survive rain and heat?
Most manufacturer-approved adhesive mounts are rated for outdoor exposure, but owners report more failures on surfaces that get direct afternoon sun and heavy heat buildup than on shaded, painted trim. A properly cured strip on a cool, clean surface holds up well in most climates.
Can I keep my existing doorbell wiring when I move out?
Yes, if you kept the original button and mounting hardware. Reconnecting the old wired button generally takes a few minutes and returns the entry to its original state, which is exactly what most leases require before you leave.
Do landlords need to approve a video doorbell?
It depends on the lease and the mounting method. A no-drill mount that doesn’t alter the door or wall usually falls outside approval requirements, while any wired installation or screw-in bracket typically needs written landlord approval first.
How do I remove adhesive residue from a door frame?
Warming the adhesive gently with a hair dryer on low heat before peeling reduces tearing, and a household adhesive remover or rubbing alcohol applied afterward clears most remaining residue from painted or sealed surfaces without damaging the finish.
Do I need an electrician to install a renter-friendly doorbell?
Generally no. Battery models with adhesive or bracket mounts need no wiring at all, and wired models that reuse an existing doorbell button typically involve connecting two low-voltage wires, a task most manufacturer instructions treat as a DIY step.
Our take
Check what’s already behind your doorbell button before buying anything. That single detail decides whether adhesive, bracket, or existing wiring is your realistic option.
Before ordering a specific mount, check the manufacturer’s listed surface compatibility against your own door or siding material. A mount rated for painted wood behaves differently on stucco or brick, and that mismatch is the most common reason a renter-friendly install fails weeks after it looked solid.
Who checked this
True Security Gear does not run a test lab and does not take units apart. One half of the work is documents: manufacturer specs, certifications, and seller claims checked against the paperwork. The other half is the record owners leave behind, in verified-buyer reviews, owner forums, and warranty complaints. Where that evidence is thin we say it is thin, rather than filling the gap with an adjective. The criteria are on How we evaluate.
Google lets you pick which sites come up first in your own results.